DIY Craft Ideas Home Decor
Feeling like your home needs a facelift but don’t want to break the bank? Good housekeeping isn’t just about clean spaces; it’s also about having a stylish oasis that reflects your personality.
Our handpicked DIY craft ideas will guide you through elevating your living space with creativity and ease. Dive in for inspiration!
Key Takeaways
- You can create a stylish DIY hanging shelf using wood boards, rope or wire, and some basic tools for a modern look.
- Make an inexpensive rustic blanket ladder with wood pieces to organize blankets charmingly.
- Turn plywood and rope into a chic DIY Wood Plant Hanger to save floor space and add greenery to your room.
- Personalize baskets and planters with paint for unique home decor that brightens any space.
- Use felt balls and embroidery floss to craft a colorful Felt Ball Garland that adds warmth to your home.
Table of Contents
1. DIY Hanging Shelf
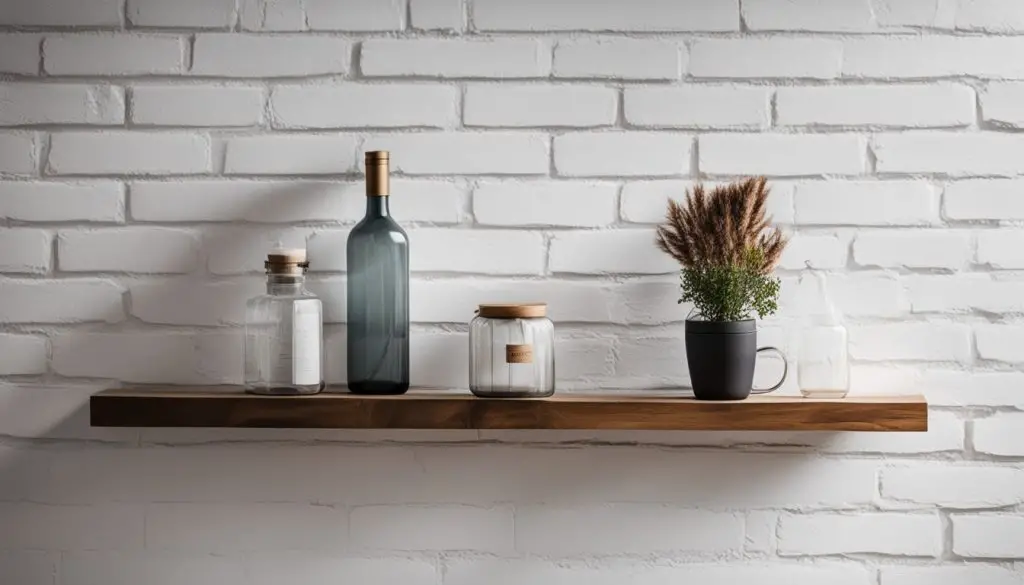
Elevate your space with a chic DIY hanging shelf – not only does it add an air of modern sophistication, but it also serves as a functional spot to showcase your favorite items.
With some basic materials and a little imagination, you’ll create your custom piece that’s sure to impress any guest (or even an interior designer browsing through Elle Decor)!
Materials & Process
Creating a DIY hanging shelf adds charm and space to any room. You’ll need some essential tools and materials to start your project.
- Wood boards: Choose the size that fits your space.
- Rope or wire: Pick a style that complements your decor.
- Screws, screwdriver, and drill: These are essential for assembly.
- Level and measuring tape: For accurate installation.
- Measure the wood boards to the desired length. Cut them carefully.
- Drill holes in each corner of the boards for the rope or wire.
- Cut the rope or wire to the required size, considering how low you want the shelf to hang.
- Thread the rope through the holes and tie knots securely under each hole.
- Attach ceiling hooks where you would like to turn your shelf.
- Hang the ropes on the hooks and adjust until level.
- Screw down your wood boards onto each other if you’re stacking them for more shelves.
See the video below for more shelf-decorating ideas:
2. Easy Rustic Blanket Ladder

Transform your room with a DIY Rustic Blanket Ladder that costs less than $15. This simple project makes organizing blankets stylish and adds a charming rustic touch.
- Grab some wood; you will need four pieces for the sides and rungs.
- Sand each piece to prevent splinters and create a smooth finish.
- Stain or paint the wood in the color of your choice for a personalized look.
- Cut two long side rails to your desired height, usually about 5 feet.
- Measure and mark where you want the rungs to go, evenly spacing them apart.
- Secure the rungs to the side rails using screws or nails – make sure they’re straight!
- For extra strength, use a hot glue gun at each joint.
- Let everything dry if you’ve used glue or stain.
- Lean your ladder against a wall at an angle so it’s stable.
- Hang your favorite blankets on the rungs for easy access and a cozy display.
3. DIY Wood Plant Hanger
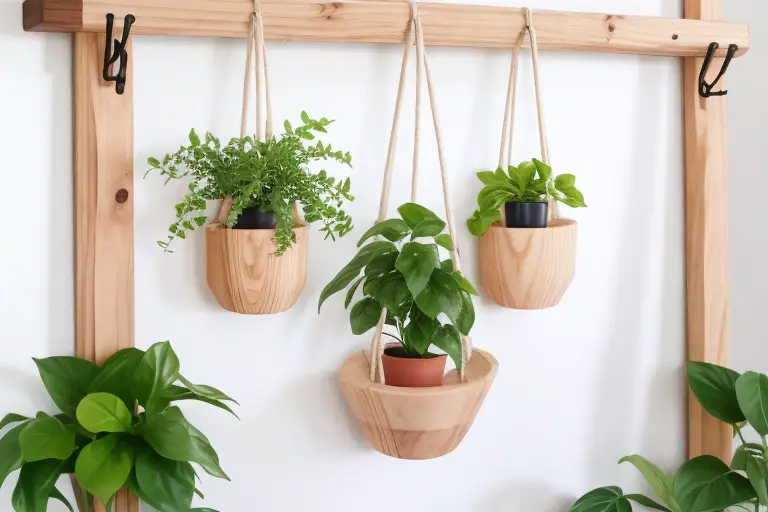
Creating a DIY Wood Plant Hanger is a clever way to bring life into your room. This do-it-yourself project is affordable and adds a unique touch to your home decor.
- Start by gathering your materials: a piece of plywood, some rope, a drill, scissors, and a plant pot.
- Cut the plywood into a circle or square shape for your base. The size depends on your pot.
- Drill four evenly spaced holes near the edges of the plywood. These are for the ropes to go through.
- Sand the edges of the wood to make them smooth. You don’t want splinters!
- Cut four lengths of rope. Make sure they’re all the same size for balance.
- Thread each piece of rope through a hole in the plywood from underneath. Knot each end so they won’t slip back out.
- Bring all rope ends together above your base and tie them in one big knot. Leave enough rope above this knot to hang it from a hook.
- Place your pot in the center of the hanger. Adjust it so it’s level.
- Hang your new Wood Plant Hanger on a solid hook from the ceiling or wall bracket.
4. Yarn Wall Hanging
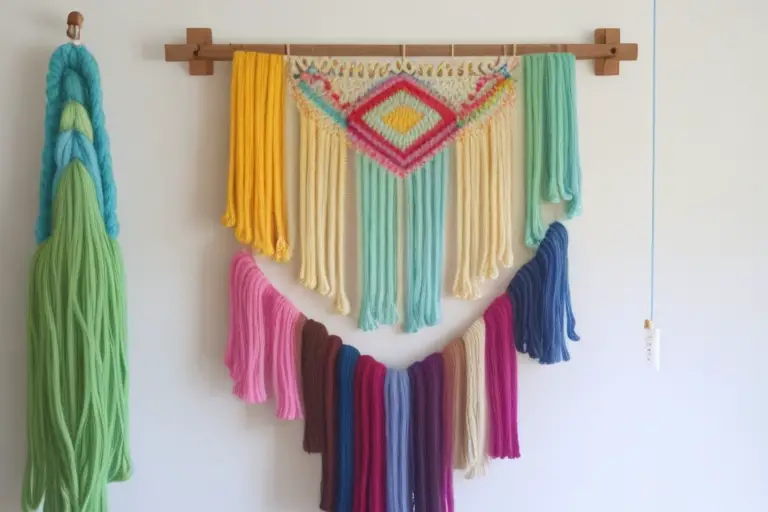
Yarn wall hangings breathe life into your walls. They’re perfect for adding a touch of color and texture to any room.
- Pick out yarn in various colors and textures that match your space.
- Find a wooden dowel or branch that will serve as the hanging rod.
- Cut lengths of yarn twice the size you want your hanging to be.
- Fold each piece of yarn in half and loop it around the dowel using a lark’s head knot.
- Create patterns by grouping colors or mixing them up.
- Trim the bottom edges of the yarn to create a clean, even look, or go for an asymmetrical design.
- Attach string, twine, or leather lace to both ends of the dowel for hanging on the wall.
- Hang it up! Choose a spot that could use some softness and color.
5. Painted Baskets & Planters
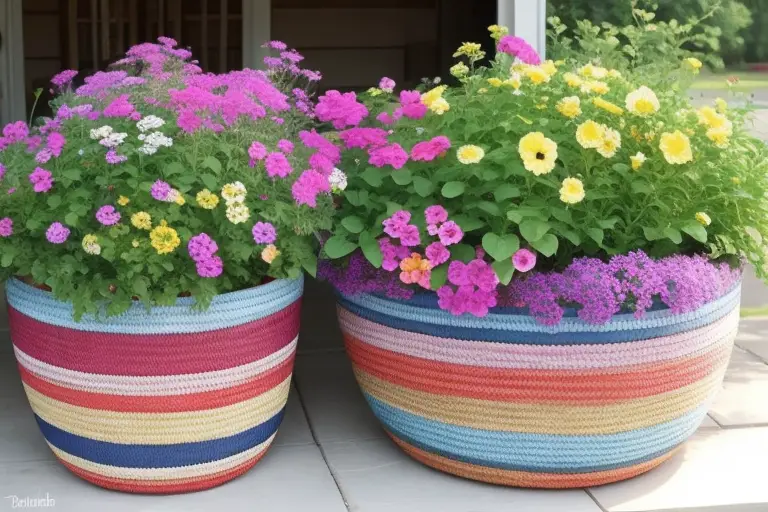
After adding a cozy touch with yarn wall hangings, let’s bring some color to our green friends.
Painted baskets and planters are a fantastic way to give your plants a personal flair. Here’s how you can create your own:
- Choose your baskets and planters. Look for ones made of materials like wicker, terra cotta, or plastic.
- Gather supplies such as sandpaper, primer, paintbrushes, and bright paint colors. Acrylic or spray paints work well.
- Sand the surfaces lightly if they’re shiny or smooth. This helps the paint stick better.
- Wipe down the baskets and planters with a damp cloth to remove dust.
- Apply a coat of primer if you’re painting on dark or uneven surfaces. Let it dry completely.
- Paint your base color onto the basket or planter. You may need two coats for even coverage.
- Get creative! Add patterns like stripes, polka dots, or geometric shapes using painter’s tape or stencils.
- Seal your work with Mod Podge for extra durability against water and sun damage.
- Allow everything to dry before you move the baskets and planters back into place.
6. Felt Ball Garland
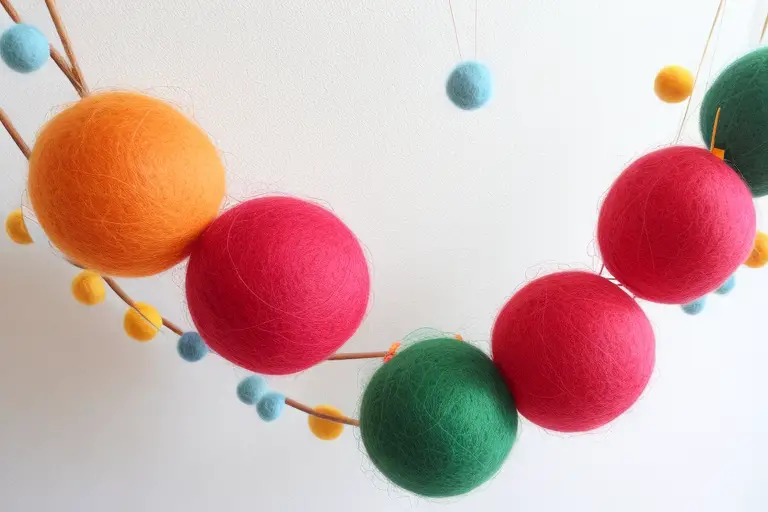
The Felt Ball Garland brightens any room with its playful colors. It’s a fun DIY home decor project that anyone can try.
- Grab some colorful felt balls from your local craft store or online.
- Choose embroidery floss that complements or matches your felt ball colors.
- Cut a piece of the floss to your desired garland length—think about where you’ll hang it.
- Thread a needle with the embroidery floss; a giant eye helps.
- Push the needle through each felt ball, spacing them as you like.
- Make knots on both ends of the floss to keep the balls from sliding off.
- Leave extra thread on both sides if you want to tie your garland up.
- Hang your new felt ball garland over a window, across a bookshelf, or along the mantel.
- Feel free to mix and match colors to create themes for holidays or events.
- Your finished garland will add warmth and charm to any space, showing off your creative flair.
7. DIY Bulletin Board
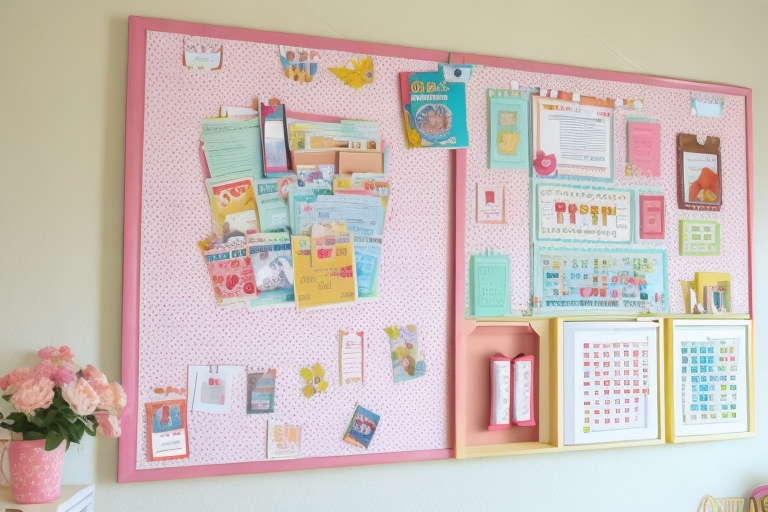
A DIY bulletin board is a great way to stay organized and display your favorite memories. It’s easy to make and adds a personal touch to any room.
- Choose your board: Find a corkboard or foam board of any size that fits your space.
- Gather materials: You’ll need fabric, paint, ribbon, push pins, and a staple gun.
- Pick fabric: Select a piece of fabric that matches your room decor for the bulletin board’s background.
- Paint the frame: If your board has a wooden frame, give it a fresh coat of paint in a color you love.
- Stretch fabric: Lay the fabric flat and place the board on top. Pull tightly and staple the fabric to the back of the board.
- Trim excess: Cut away any extra fabric from the edges for a clean look.
- Add ribbons: Criss-cross ribbons across the board for an elegant touch. Secure them at the back with staples or glue.
- Pin away: Use push pins to hang photos, notes, and reminders on your new bulletin board.
8. Decorative Chain
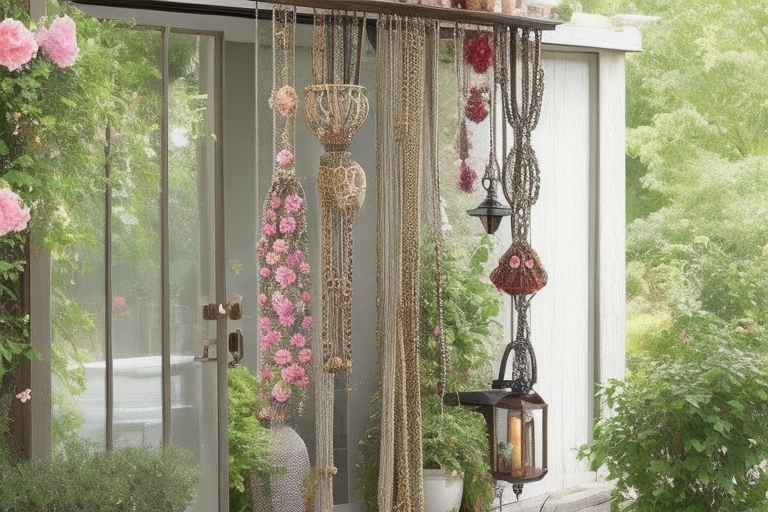
Decorative chains add a sleek touch to any room. They let you hang items in style and make your space stand out.
- Gather your supplies – you’ll need metal chains, pliers, hooks, and items to hang.
- Choose the right length – measure where you want the chain to hang and decide how long it should be.
- Cut the chain – use heavy-duty pliers to cut the chain to your desired length.
- Attach hooks – fix hooks on the wall or ceiling where you plan to hang the chain.
- Thread items onto the chain – depending on what you’re hanging, this could include photo frames, small planters, or lanterns.
- Secure each item – make sure everything is firmly attached so nothing falls.
- Hang the chain on hooks – once everything is in place, lift your decorated chain onto the prepared hooks.
9. Vintage Map Decoupage Letter
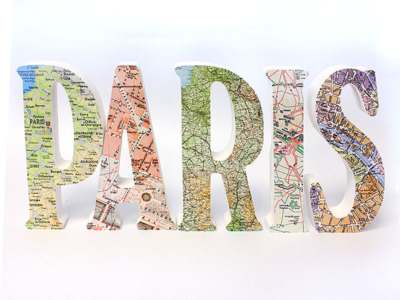
Creating a Vintage Map Decoupage Letter is like taking a trip down memory lane. It brings a unique and personalized charm to your home decor. Here’s how to make one:
- First, gather your materials. You’ll need wooden or paper mache letters, Mod Podge, a paintbrush, and map scrapbook paper.
- Choose maps that mean something to you. Maybe they’re from your hometown or favorite vacation spot.
- Cut the map paper into strips or pieces that will cover your letters.
- Paint a layer of Mod Podge onto the letter surface.
- Carefully place the map pieces onto the sticky surface. Smooth out air bubbles as you go.
- Once covered, seal your work with another layer of Mod Podge over the top.
- Allow it to dry completely. This might take a few hours.
- If you want, paint the edges of your letters for a finished look.
10. More DIY Craft Ideas for Home Decor
Crafting your home decor can reflect personal style and save money. Upcycling old items gives them new life in creative ways.
– Mason Jar Sconces: Attach mason jars to wooden planks, and add LED fairy lights or flowers for a cozy glow.
– Stenciled Pillowcases: Use fabric paint and stencils to make plain pillowcases into unique designs that match any room theme.
– No-Sew Curtains: Choose a favorite fabric and use hemming tape to create stylish curtains without sewing quickly.
– Hand-Painted Wall Art: Paint simple shapes or abstract forms on canvas; hang multiples for a gallery wall effect.
– Rope Baskets: Coil rope, secure with glue, and fashion into storage baskets that are both practical and decorative.
– Personalized Coasters: Decorate ceramic tiles using Mod Podge to seal photos or patterned paper; great as gifts, too.
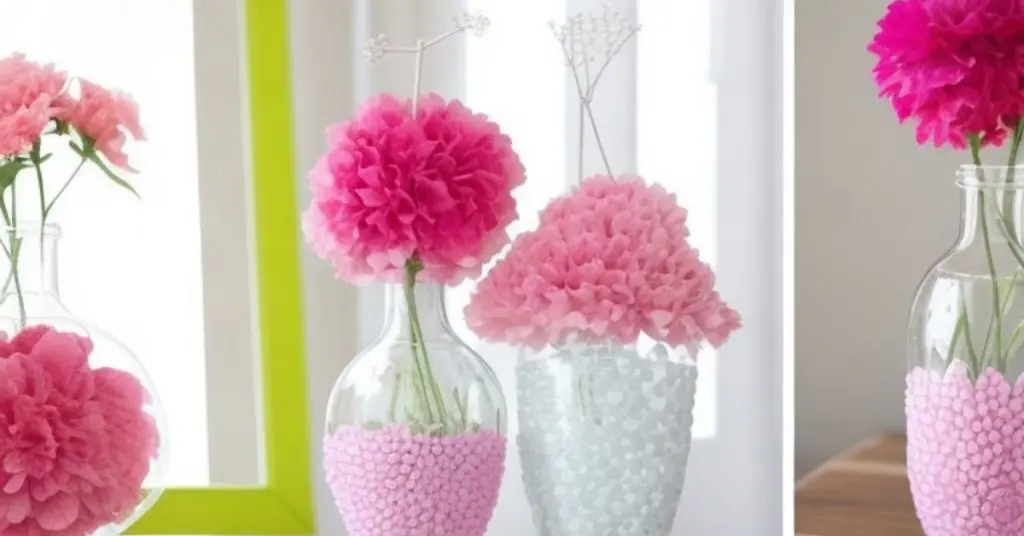
– Bottle Vase Collection: Spray paint old bottles in soft pastels; fill with single stems for minimalist chic decor.
– Fabric Scrap Wreath: Tie colorful fabric scraps around a wire frame for an easy-to-make festive wreath any time of year.
– Washi Tape Accent Wall: Create geometric patterns on walls with washi tape – temporary and perfect for renters!
Remember, these crafts not only beautify your space but also show off your do-it-yourself skills.
Concluding Thoughts on DIY Craft Ideas Home Decor
Ready to make your home shine? These 10 DIY crafts are perfect for adding a personal touch.
From hanging shelves to decoupage letters, there’s something for everyone. Dive into these projects and watch as your space transforms before your eyes.
Get creative, have fun, and enjoy the new look of your home!
Discover even more creative inspiration with our DIY craft ideas for home decor to elevate your living space.
FAQs About DIY Craft Ideas Home Decor
1. What can “do it yourself” crafts do for my home decor?
Do it yourself, or DIY, crafts add a personal touch to your space. They let you show off your style and make your home unique.
2. Are DIY craft ideas expensive?
Nope! DIY craft ideas are great because they can save you money. You use what you already have to make something new and cool.
3. Can anyone try these DIY home decor crafts?
Absolutely! Whether you’re a beginner or an expert, there’s a DIY project out there for everyone. Plus, you learn as you go!
4. Will I need special tools for these DIY projects?
Most times, no—you’ll use simple tools like scissors, glue, and paint that might already be in your house. If a project needs something more special, the instructions will tell you.

Leave a Reply