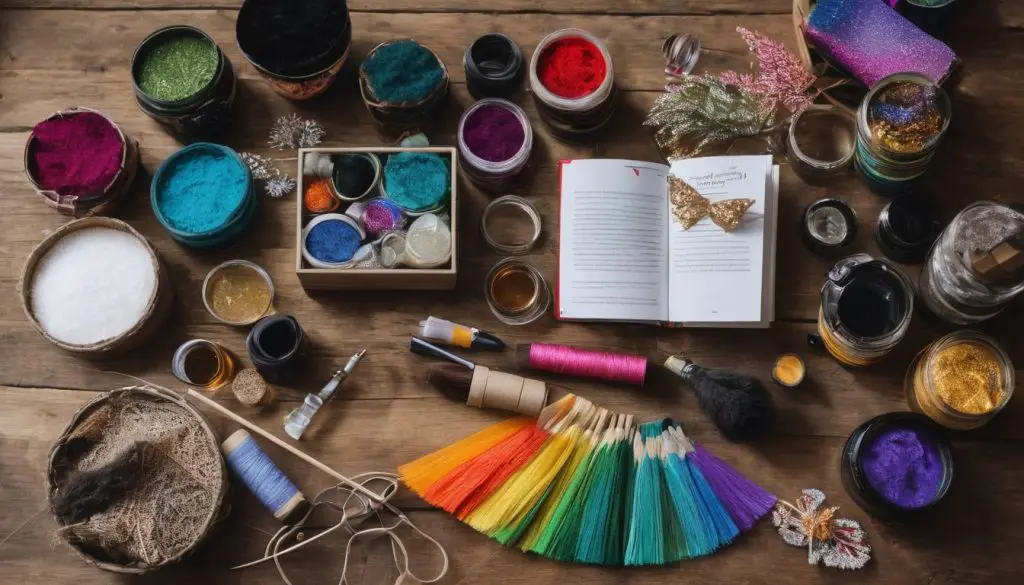
DIY Craft Ideas Easy
Finding fun and creative activities for home can be a challenge, especially when you’re tight on time and resources.
That’s why DIY crafts ideas easy are a perfect solution; they spark joy without draining your wallet or your clock.
Our carefully curated list of 18 simple projects ranges from quirky paper mache bowls to chic upcycled denim bunting—crafted for both the novice and seasoned DIYer.
Dive in—you might discover your next favorite hobby!
Key Takeaways
- You can make a variety of crafts at home with simple materials like paper, rocks, yarn, and old clothes.
- These projects are budget-friendly and add personal charm to your living space.
- The DIY ideas include making items for practical use and decorative purposes such as coasters, photo collages, and wall hangings.
- Crafting improves fine motor skills and is both fun and relaxing.
- Upcycling items like denim jeans or soda cans into something new helps the environment.
Table of Contents
1. Crafting with Paper Mache Bowls

Let’s dive into the world of paper mache bowls, an easy craft that brings creativity to your home. Paper mache is not just for kids; adults can have loads of fun making these too.
- Start by gathering your materials – you’ll need some old newspapers, balloons, a bowl for mixing, water, flour, and brushes.
- Tear the newspaper into small strips. This helps them stick better when you begin to layer them.
- Inflate a balloon to the desired size of your bowl. This will act as your mold.
- Mix water and flour to create a smooth paste. Dip each strip of paper into this mix before applying them to the balloon.
- Slap those wet strips onto the balloon. Layer them criss-cross for extra strength.
- Let your creation dry overnight. It might get tempting, but wait until it’s excellent.
- Pop the balloon with a burst of excitement! You’ve now got a perfect paper mache bowl shape.
- Trim the edges with scissors for a neat look. Smooth lines make all the difference!
- Paint your bowl any color you like. Get wild with patterns, or keep it simple – it’s up to you!
- Seal it with Mod Podge for that shiny finish and extra durability.
- Use these bowls to brighten up any room. Fill them with candy or use them to catch loose change.
- Building these bowls also builds your fine motor skills – tearing, dipping, and painting require precise movements.
2. Easy Painted Rocks: Fun Home Decor

Easy Painted Rocks make your home shine with personality. Grab some stones and paint, and let’s get creative.
- Find smooth, flat rocks from your garden or a craft store.
- Wash the stones with soapy water to remove dirt; let them dry completely.
- Choose acrylic paints for bold colors that stick to the surface well.
- Lay down newspaper or a plastic sheet to protect your workspace.
- Use small brushes for detailed designs or sponge brushes for a textured look.
- Paint one solid color as a base coat; this makes other colors pop.
- Let the first layer dry before adding more colors or designs on top.
- Try painting patterns like stripes, polka dots, or even little landscapes.
- Add sparkle with glitter glue or metallic paint pens after the paint dries.
- Seal your painted rocks with a clear spray sealant to protect them from the weather if you’ll place them outside.
- Place these beauties in your garden, on bookshelves, or as part of a centerpiece.
3. Creating a Pom Pom Garland
After adding color to your home with painted rocks, it’s time to brighten up your space even more with a whimsical pom pom garland.
This project is super simple and brings a pop of joy wherever you hang it.
- Gather your materials: yarn in various colors, scissors, a fork or pom-pom maker, and some string for threading.
- Cut the yarn: Snip pieces of yarn about 6 inches long. These will form the basis of each pom pom.
- Make the pom poms: Wrap yarn around a fork or use a pre-made pom-pom maker. The more loops, the fluffier your pom poms!
- Secure them tightly: Once you have enough loops, tie them in the middle with another piece of yarn.
- Fluff and shape: Cut through the loops and trim any excess to create an excellent round shape.
- Create a bunch: Repeat these steps until you have enough pom poms for your desired garland length.
- String them up: Thread a piece of string through the middle of each pom pom. Space them evenly, or mix them up!
- Hang with care: Choose where you want to display your garland. Drape it over windows, along walls, or around doorframes.
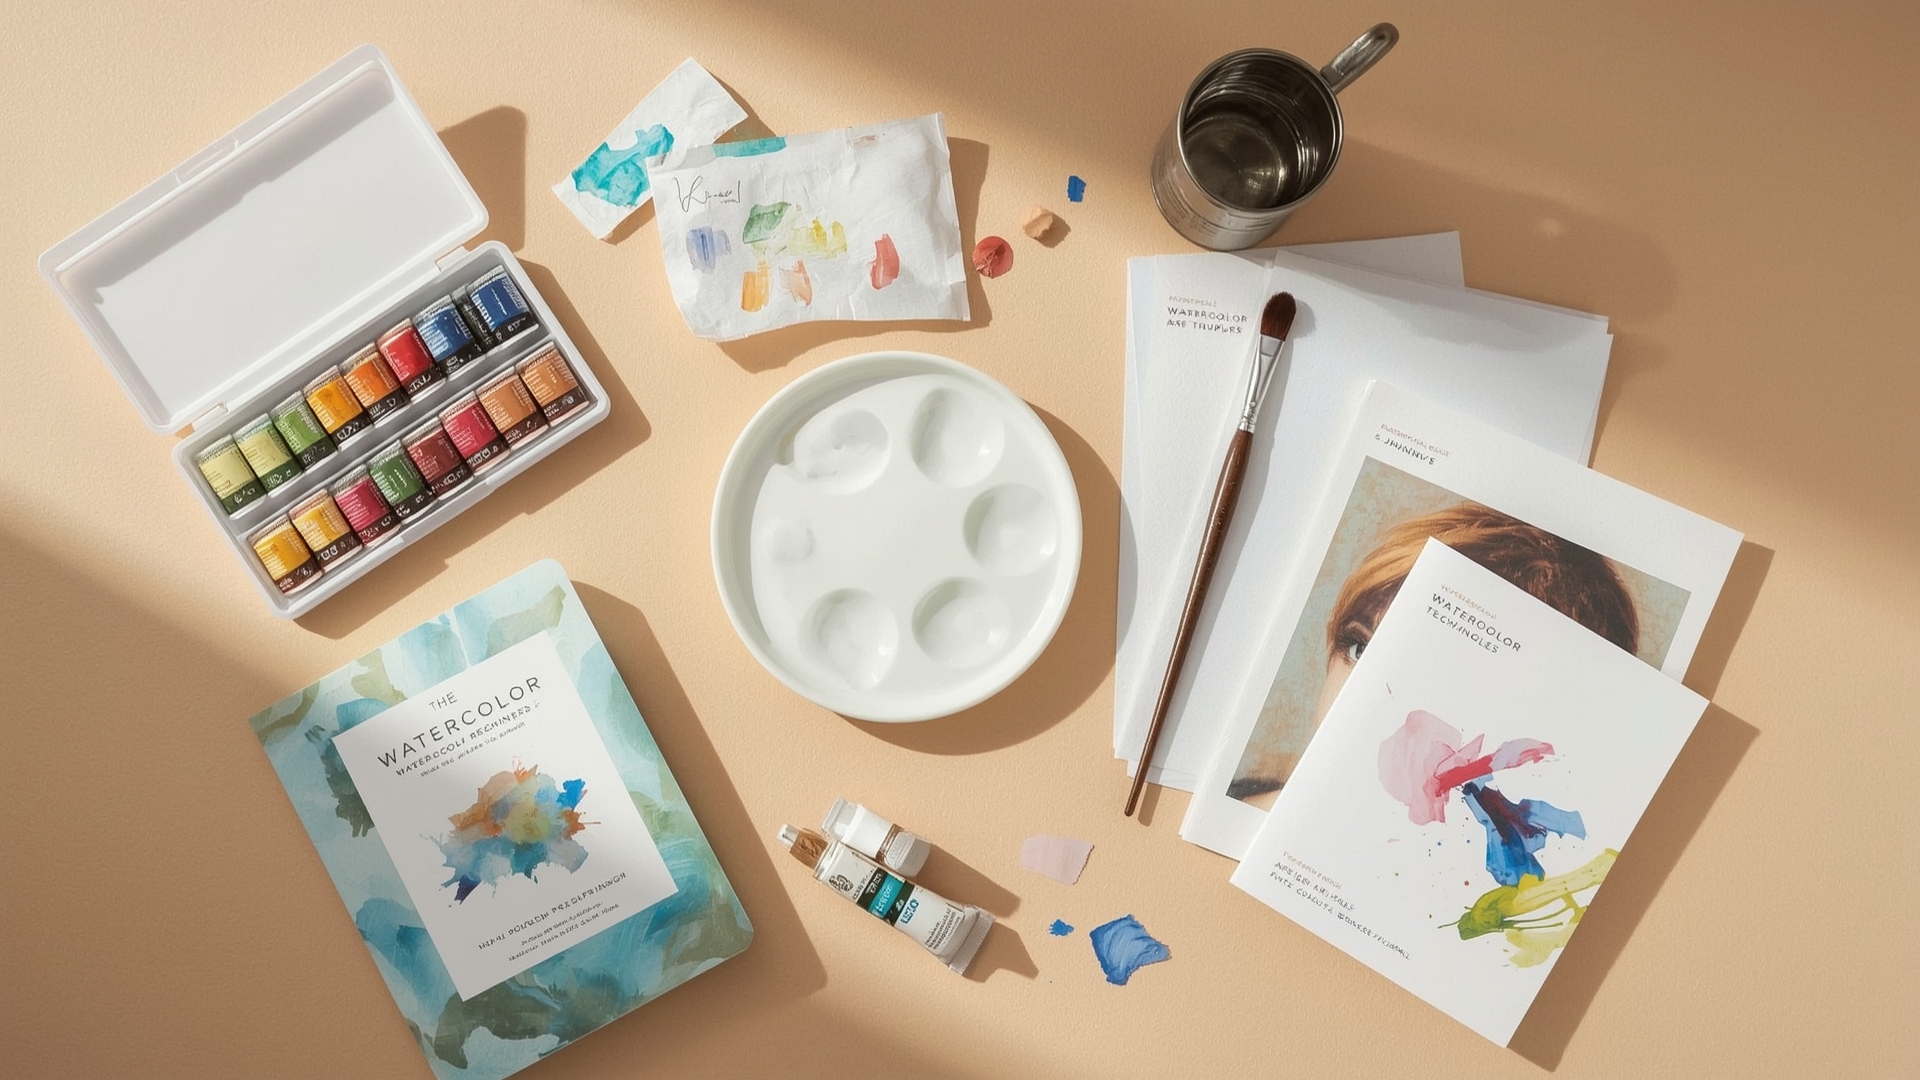
4. Watercolor Collage: Simple and Beautiful
Watercolor Collage is a craft that mixes colors and creativity. You can make something beautiful in no time.
- Choose your paper. Watercolor paper works best for absorbing the paint.
- Pick out watercolors. Bright, vibrant colors can make your collage pop.
- Set up a workspace. Cover the table with newspaper to keep things clean.
- Sketch a design. You can start with simple shapes or abstract forms.
- Paint your pieces. Fill your design with watercolors and let them dry.
- Cut out your work. Create exciting patterns by cutting different shapes.
- Arrange the pieces. Play around with the layout on a fresh sheet of paper.
- Glue it down. Once you’re happy, stick each piece to make it permanent.
- Add details. Use markers or pens to highlight or outline parts of your collage.
- Display your art! Find a spot at home where everyone can admire your piece.
5. DIY Photo Collage for Home Display
Create a photo collage to show off your favorite memories. This easy project adds a personal touch to any room.
- Choose photos that make you smile. Think about family, friends, pets, or vacations.
- Get a big picture frame or some poster board as your base. You can find these at most stores.
- Cut out backgrounds from cardstock or scrapbook paper. These will help your pictures stand out.
- Use double-sided tape or glue dots to stick the photos on the cardstock.
- Arrange the images and backgrounds on the frame or board. Try different layouts until you love it.
- Add stickers, quotes, or decorations around the pictures. This makes it more fun!
- Use tiny clothespins and string for a different style. Clip the photos instead of gluing them on.
- Once you’re happy with it, hang up your collage where everyone can see it.
6. Making No-Sew Vintage Style Fabric Coasters
Vintage style fabric coasters add charm to any table setting. They’re easy to make without sewing a stitch.
- Pick out fabric with astonishing patterns or colors that match your home’s vibe.
- Find stiff felt or foam sheets as the coaster base; they’ll give good support.
- Cut the fabric and base into circles using sharp scissors for a clean edge.
- Use fabric glue to attach the fabric to the stiff base, smoothing out any bubbles.
- Trim any extra fabric from the edges so your coaster looks neat.
- Let them dry for a few hours — a sunny spot works great for this!
- Once dry, apply a waterproof sealant spray to protect them from drink spills.
7. Upcycling Old Denim into Bunting
Let’s turn your old jeans into something amazing. Upcycling denim creates unique and stylish bunting for any occasion.
- Find some old jeans you no longer wear.
- Cut the jeans into triangle shapes.
- Grab a string or ribbon for the base of your bunting.
- Sew or glue the denim triangles onto the string.
- Space each triangle evenly for a neat look.
- Hang your new denim bunting at parties or in your room.
- Enjoy the eco-friendly vibe it brings to any space.
8. Light Switch Covers: A Unique Decorative Twist
Switching up your room’s style can be as simple as creating custom light switch covers. They add a fun and personalized touch to any space with just a little time and creativity.
- Start by choosing the material you want for your cover. Paper, fabric, or even old maps are great options.
- Use a screwdriver to remove the existing light switch cover carefully.
- If you’re using paper or fabric, measure it against the cover, then cut out the shape slightly larger than the actual size.
- Spread glue onto the cover if you’re decoupaging, making sure to smooth out any air bubbles.
- Place your material on top of the glue and press firmly. Trim any excess material from around the edges.
- For painted covers, choose acrylic paint and apply it with a brush or sponge for different effects. Let it dry completely before handling.
- If you like sparkle, sprinkle glitter over wet paint or use Mod Podge to seal the glitter on after painting.
- Try wrapping string or twine around the cover for a textured look. Secure ends with super glue or another strong adhesive.
- Attach embellishments like beads, sequins, or stickers to make your design stand out even more.
- Once everything’s dry and set, screw your new cover back in place and admire your work.
9. DIY Washer Necklace: Fashion from Home
Making a DIY Washer Necklace lets you tap into your creative side. You craft something wearable right from the comfort of your home.
- Grab some washers from your toolbox or pick them up at a hardware store.
- Choose string, yarn, or leather cords for threading your washers.
- Paint the washers any color you like; metallic acrylics work well for a shiny effect.
- Let the paint dry, then seal it with clear nail polish for extra durability.
- Cut your chosen cord to the length you want your necklace to be.
- Thread the cord through each washer, arranging them as desired.
- Knot the ends of the cord securely to prevent the washers from slipping off.
- Add beads between washers for more color and variety if you wish.
- Experiment with different patterns and washer sizes for unique looks.
- Wear your new necklace proudly, or give it as a handmade gift to someone special.
10. Decorate Glass Jars for Storage or Display
Glass jars offer a blank canvas for your creativity. With a few simple supplies, you can transform them into stylish storage or display pieces.
- Grab some Mod Podge and brush it onto the jar; choose decoupage craft paper with vibrant patterns and press it onto the glue-coated surface.
- Get creative with acrylic paint to give your jar a personal touch. Paint stripes, dots, or even landscapes.
- Cut fabric scraps into shapes or strips and use Mod Podge to adhere them to the jar for a vintage look.
- Create paper flowers and attach them to the outside of the jar for a 3D effect.
- Wrap twine or yarn around your jar in patterns or layers for rustic charm.
- Use stencils and etching cream to frost designs onto glass surfaces.
- Glue bright buttons in fun patterns on jars to add texture and pops of color.
- Tint jars using food coloring mixed with Mod Podge for an ombre or full-color effect.
- Stick on vinyl cutouts like stars, hearts, or letters to personalize each jar.
- For practical use, paint chalkboard labels where you can write what’s inside each storage jar.
11. DIY Glitter Shoes: Add a Sparkle to Your Step
After jazzing up jars, it’s time to add some shimmer to your step with DIY Glitter Shoes. This project turns your plain sneakers or flats into shiny highlights of your wardrobe.
Here’s how you can create your own glitter shoes:
- First, pick out a pair of shoes you want to sparkle.
- Gather your materials: Mod Podge, loose glitter, a brush, and some newspaper to keep things clean.
- Mix a good amount of glitter into Mod Podge until you get a thick, sparkly paste.
- Apply the mixture onto the shoes using the brush. Cover them evenly.
- Let them dry for a bit, then add another layer if you want more bling.
- Wait for the boots to dry completely. It might take several hours.
- Shake off any loose glitter over a trash can or sink.
- Show off your new glitter shoes with pride!
12. String Art for Beginners: Fun Wall Decor
String art can transform your walls with just nails and string. This easy craft adds a personal touch to any room.
- Choose a simple image or pattern you love. It could be a heart, a star, or even a letter.
- Gather your materials: you’ll need a wooden board, trim nails, a hammer, string, and a template for your design.
- Place the template on the wood where you want your art to be. Tape it down so it doesn’t move around.
- Start hammering nails along the outline of your design. Keep them about half an inch apart.
- Once all nails are in place, remove the paper template carefully. Now you’ve got the outline of your image!
- Tie one end of the string to any nail on the outline to start. Make sure it’s tight and secure.
- Stretch the string across to another nail and wrap it around. Pull tightly every time for the best results.
- Keep going from nail to nail, crisscrossing the string back and forth until you’re happy with how it looks.
13. DIY Desk Organizer: Keep Your Workspace Tidy
After creating some beautiful string art, get ready to tackle the clutter on your desk with a DIY Desk Organizer. This easy project is perfect for anyone looking to keep their work area clean and orderly.
- Find a sturdy shoebox or any medium-sized box to serve as the base of your organizer.
- Gather old cereal boxes or small cardboard boxes that will fit inside the larger box. These will become the dividers.
- Cut the smaller boxes to varying heights for different types of office supplies—taller for pens and scissors, shorter for paper clips and erasers.
- Wrap the outside of the large box and each small box with wrapping paper, scrapbook paper, or fabric for a personalized look. Use glue or double-sided tape to secure.
- Arrange the small boxes inside the large ones in a way that makes sense for you. Think about what items you use most and place those divots toward the front.
- Secure these dividers to each other and the base using hot glue so they won’t shift around when in use.
- Add labels to each section if desired. You can use stickers, handwritten tags, or printed labels for this step.
- Fill up your new organizer with all your desk essentials. Enjoy a cleaner workspace that also shows off your creative side!
14. DIY Flower Pot: Add Personality to Your Plants
Add a dash of charm to your green friends with the DIY Flower Pot project. It’s a fun way to make your terracotta pots pop with personality.
- Grab some Mod Podge, your favorite fabric, and a plain flower pot.
- Cut the fabric into shapes or strips that you like.
- Coat the pot with Mod Podge using a brush.
- Stick the fabric onto the pot in any design you want.
- Apply another layer of Mod Podge over the fabric to seal it.
- Let it dry for about 20 minutes until it’s not tacky to touch.
- Fill your personalized pot with soil and plant something beautiful.
15. DIY Tote Bag from Tea Towel: Stylish and Sustainable
Making a tote bag from a tea towel is not only stylish but also eco-friendly. You’ll save money and help the planet by reusing materials you already have at home. Here’s how to make your own:
- Choose a sturdy tea towel that speaks to your style, perhaps one with a cool pattern or bright colors.
- Lay the towel flat and fold it in half horizontally, making sure the edges line up neatly.
- Sew along the two open sides, leaving the folded edge intact – this creates your bag shape.
- Flip the bag inside out so that the seams are on the inside, and give it a crisp iron for sharp edges.
- To make handles, cut two strips of fabric from an old shirt or another tea towel.
- Sew each strip into a loop and attach them securely to the inside of your bag’s open end.
- Reinforce the handle stitching by going over it multiple times – this will make sure they can hold weight.
- Customize by adding buttons, patches, or fabric paint to give your tote that personal touch.
- Press all sides of your new tote bag with an iron for a polished look.
16. Yarn Wall Hanging on a Budget: Cozy Home Decor
Creating a yarn wall hanging adds cozy vibes to any room without breaking the bank. You can make one using simple materials and a little creativity. Here’s how:
- Pick your yarn colors. Choose shades that match your decor, or go for a rainbow effect.
- Cut different lengths of yarn. Longer pieces will hang lower for a nice draped look.
- Get a wooden dowel or stick. This is where you’ll attach the yarn, so it should be as comprehensive as your desired wall hanging.
- Tie the yarn onto the dowel. Use a lark’s head knot for easy attachment and a neat finish.
- Create patterns with knots and braids. Experiment with basic macrame techniques to add texture.
- Trim the ends to shape your hanging. You can make them even or give them an angled design.
- Secure the yarn with glue if needed. A dab at each knot keeps things from sliding around.
- Attach string to hang up your masterpiece. Tie it to both ends of the dowel so it hangs evenly.
17. DIY Wood Coasters: Functional and Attractive
Just like a yarn wall hanging adds warmth, making your own wood coasters can bring a practical charm to any room.
These coasters guard tables against stains and scratches stylishly. Here’s how you can create your own:
- Choose your wood: Find some old scraps or buy small pre-cut pieces. Cedar, pine, and bamboo are great options.
- Cut to size: If necessary, saw your wood into circles or squares. Aim for about 4 inches across.
- Sand the edges: Use sandpaper to smooth out rough areas. This makes them safe to handle.
- Seal the wood: Apply a clear varnish or beeswax to protect against water damage.
- Add rubber feet: Stick small rubber pads on the bottom. They prevent slipping and cover your table.
- Get creative: Decorate with paint, stain, or even burn designs into the wood with a pyrography tool.
- Cure the coaster: Allow any finishes to dry thoroughly before use. This usually takes at least 24 hours.
- Showcase your work: Place these coasters around your home or wrap them up for a thoughtful gift.
18. DIY Keychain from a Soda Can: Upcycle with Style
Turn a simple soda can into a cool keychain. This project is not only creative but also helps the planet by upcycling.
- Grab an empty soda can and clean it out. Make sure there’s no sticky residue left.
- Carefully cut the can to create a small rectangular sheet of aluminum. Smooth out any sharp edges.
- Choose a shape for your keychain. It could be a heart, star, or even your initial!
- Trace the shape onto the aluminum sheet using a marker. Use old cookie cutters as stencils if needed.
- Cut out your chosen shape from the aluminum carefully. File down the edges again for safety.
- Punch a hole near one edge of your shape with a hole puncher. This is where you’ll attach the ring.
- Decorate your aluminum shape using permanent markers or paint. Let your creativity shine!
- Seal your design with clear nail polish or a sealant spray to make it last longer.
- Attach a key ring through the punched hole and add any additional charms if you like.
- Show off your new upcycled keychain with pride! Take it wherever you go.
More DIY Craft Ideas for Adults
Keep building your crafting skills with a patchwork quilt made from old shirts or fabric scraps. Show off your sewing prowess and create something cozy for those cool nights.
Dive into the world of soap-making and design bars that match your favorite scents and colors. It’s an ideal blend of science and art.
Transform dull lampshades by wrapping them in yarn or rope for a textured look that warms up any room.
Or take plain dishes and give them life with porcelain paint; you’ll have custom dinnerware that impresses guests at your next gathering!
Concluding Thoughts on DIY Craft Ideas Easy
Get ready to turn your home into a crafty paradise! With these 50 easy DIY ideas, you’ll find something perfect just for you. Dive into projects that fit your style and make your space shine.
Remember, crafting is not only fun but also great for relaxing and flexing those creative muscles. So grab some glue, pick out colorful materials, and let’s create something unique today!
For even more creative fun, check out our additional DIY craft ideas for adults.
Leave a Reply