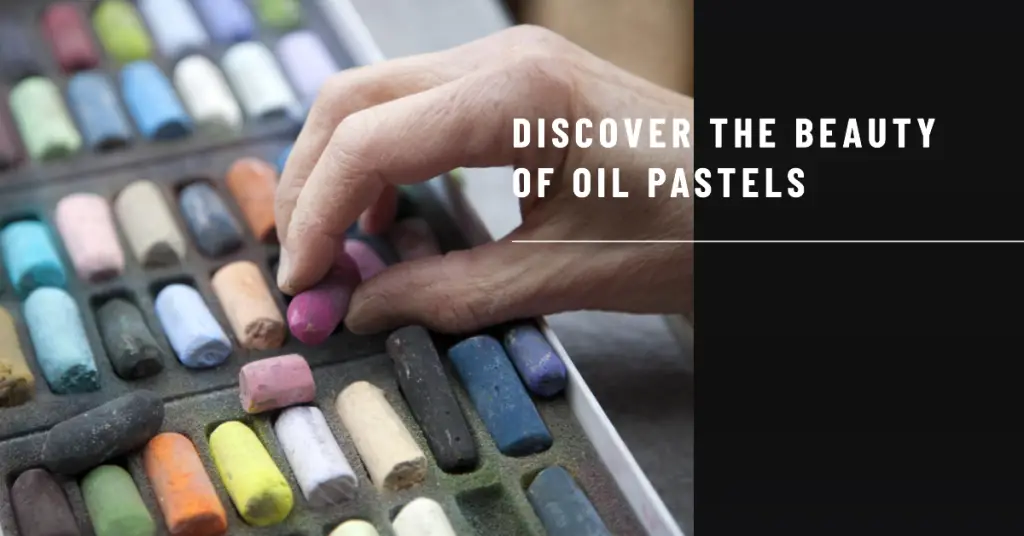
How to use oil pastels
Diving into oil pastels can seem daunting for many artists, especially with the endless array of techniques and colors.
Oil pastels, vibrant hues, and buttery textures have mesmerised artists since their creation in the 20th century.
This blog will unpack all you need to know about using oil pastels, from fundamental techniques such as layering and blending to selecting surfaces that meet your creative needs.
Ready? Let’s unravel this colorful medium together!
Key Takeaways
- Oil pastels are a versatile art medium of pigment, oil, and wax binder. They offer vibrant colors, easy blending, and the ability to create rich textures.
- Benefits of oil pastels include their intense colors that remain vivid after drying, ease of blending with fingers, and the ability to layer for added texture and depth.
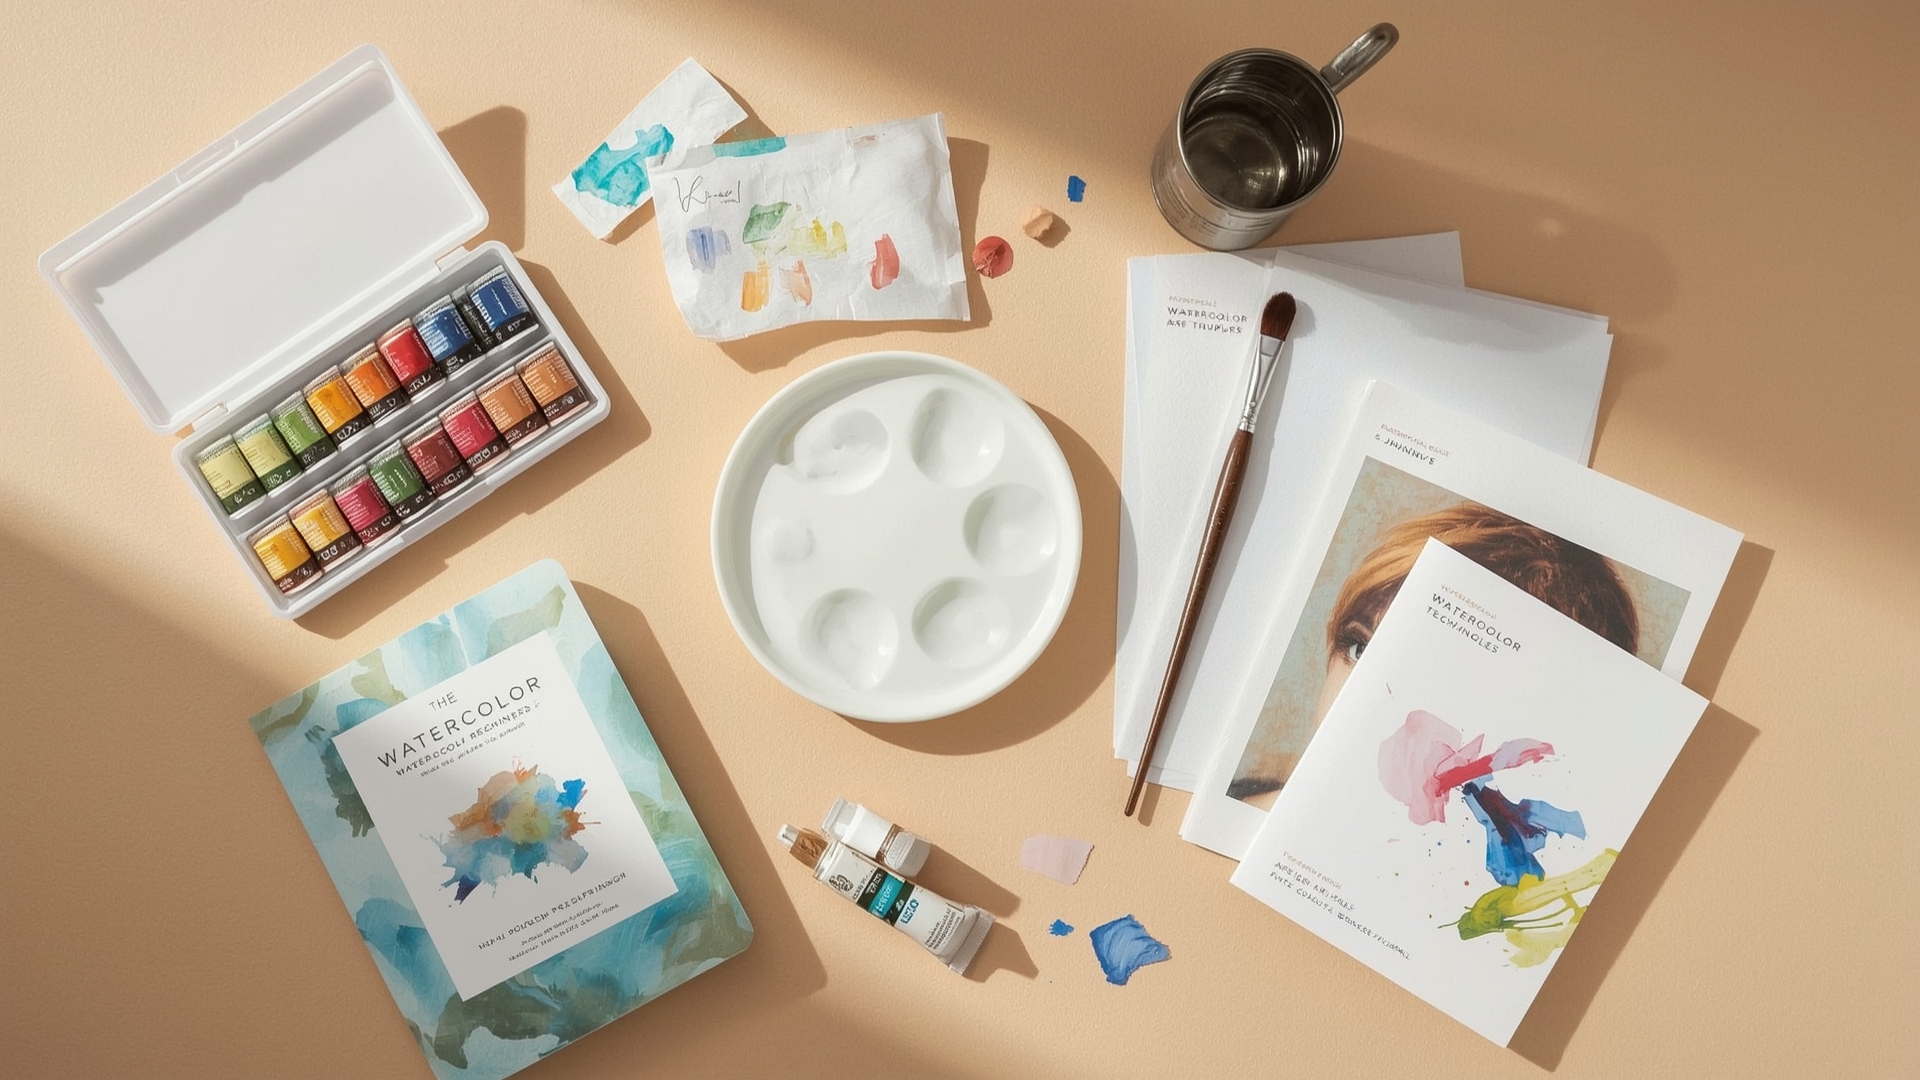
- Unlike other art mediums like watercolor or acrylics, oil pastels have a smooth buttery texture, are easy to blend without relying on water or specific techniques once dry, and do not fully dry or become erasable due to high oil content.
- Essential techniques for using oil pastels include layering and blending colors for depth and dimension, utilizing the sgraffito technique for interesting textures and details, and employing the scumbling technique for soft painterly effects.
Table of Contents
Understanding Oil Pastels
Oil pastels are a versatile art medium of pigment, oil, and wax binder. They offer unique benefits such as vibrant colors, easy blending, and the ability to create rich textures.
Unlike other art mediums like paint or colored pencils, oil pastels do not require additional tools or materials.
What are oil pastels?
Oil pastels stand out as vibrant, versatile tools in art. Boasting a unique composition, these stick-like instruments combine powdered pigment with a non-drying oil and wax binder.
They allow artists to create stunning works with rich colors and soft, smooth textures.
Unlike regular crayons or other drawing supplies, oil pastels have a creamy consistency that adheres well to various surfaces while allowing for seamless blending and mixing of colors.
Furthermore, they offer infinite creative potential, from making broad strokes to producing detailed lines offering an unmatched flexibility in creating different artistic effects.
Benefits of using oil pastels
Oil pastels offer a range of benefits for artists and art students. One major advantage is their vibrant and intense colors, which can create bold and eye-catching artwork.
These colors remain vivid even after drying, allowing the artist to achieve a painterly effect on their canvas.
Another benefit is the ease of blending with oil pastels. Artists can easily blend different colors together using just their fingers, creating smooth transitions and subtle gradients in their artwork.
Additionally, oil pastels can be layered on top of each other to build up texture and depth in the piece.
This versatility makes oil pastels an excellent choice for those looking to explore different techniques in their artwork.
Differences from other art mediums
Oil Pastels stand out from other art mediums due to their distinct properties and usage. The following table helps in understanding these differences:
| Art Medium | Oil Pastels | Watercolor | Acrylic |
|---|---|---|---|
| Texture | Smooth and buttery | Translucent and watery | Thick and heavy |
| Blending | Easy to blend with rich color density | Blending relies on water and timing | Requires specific techniques once dry |
| Drying Time | It dries very fast and becomes permanent | Dries quickly depending on water usage | It cannot be removed once dried |
| Erasability | Cannot be fully erased due to high oil content | It cannot be fully erased due to high oil content | It can be lifted with water, but not fully erased |
| Suitable Surfaces | Works on a variety of surfaces | Works best on watercolor paper | Works on canvas, wood, and more |
These differences highlight the unique nature of oil pastels and make them a versatile tool in the artist’s palette.
Essential Techniques for Using Oil Pastels
Layering and blending colors is a crucial technique when using oil pastels, allowing artists to create depth and dimension in their artwork.
Additionally, the sgraffito technique involves scratching away layers of pastel to reveal underlying colors or textures. In contrast, the scumbling technique creates a painterly effect by lightly applying layers of color over one another.
The oil blending technique involves using solvents such as mineral spirits or turpentine to achieve wet and runny layers that resemble watercolor effects.
Lastly, the masking technique uses tape or frisket film to protect certain areas from being colored over, creating clean edges and precise details in an artwork.
Layering and blending colors
Layering and blending colors is a fundamental technique when working with oil pastels. It allows you to create your artwork’s depth, shading, and dimension.
To achieve this, follow these techniques:
- Apply thin layers: Start by applying thin layers of color on the paper. This will allow you to build up the intensity gradually and prevent a thick, clumpy appearance.
- Blend with your fingers: Use your fingers to blend the colors together smoothly. The warmth from your fingers will soften the pastels, making creating seamless transitions between shades easier.
- Use a spatula or palette knife: For more precise blending or creating smooth gradients, use a spatula or palette knife instead of your fingers. These tools give you more control over the blending process.
- Add texture: Experiment with different textures by layering different colors on each other using short strokes, dots, or lines. This can add interesting effects and create depth in your artwork.
- Wet and runny layers: To create a watercolor-like effect, wet your brush with water and then pick up some pastel pigment before applying it to the paper. This technique allows for smoother transitions and softer colors.
Sgraffito technique
The Sgraffito technique is a popular method used by artists and art students to create interesting textures and details in their oil pastel artwork.
Here are the steps involved in using the Sgraffito technique:
- Begin by applying a layer of oil pastel onto your chosen surface.
- Choose a contrasting oil pastel color and apply it on top of the first layer.
- Use a pointed tool, such as a wooden stick or the end of a paintbrush, to gently scratch or scrape away sections of the top layer.
- Experiment with different pressure levels to vary the depth and texture of the scratches.
- Continue adding more layers of oil pastel and repeating the scratching process until you achieve your desired effect.
- Blend and smudge colors together using fingers or a blending tool for seamless transitions between layers.
Scumbling technique
The scumbling technique is popular method artists and art students use to achieve a soft, hazy effect with oil pastels. To use the scumbling technique, follow these steps:
- Begin with a base layer of color on your paper or chosen surface.
- Take a lighter shade of oil pastel and lightly apply it in short, quick strokes over the base layer.
- Use your fingers or a blending tool to gently blend the colors together, creating a smooth transition between shades.
- Repeat this process with different colors, gradually building up layers of scumbled strokes to create depth and dimension in your artwork.
- Experiment with different pressure and stroke lengths to achieve different effects.
Oil blending technique
Artists can employ the oil blending technique to achieve a painterly effect with oil pastels. This technique involves using a solvent like mineral spirits or turpentine to thin out the layers of oil pastel and create wet and runny layers.
Using a brush or cloth soaked in solvent, the artist can blend and smudge the colors together, creating smooth transitions and gradients.
This method allows for greater control over blending and offers opportunities to create a watercolor effect with vibrant colors.
Experimenting with different solvents and techniques can provide artists with endless possibilities for creating bold, textured artwork.
Masking technique
Try using the masking technique to achieve precise and clean edges in your oil pastel artwork. Here are the steps to follow:
- Start by securing your paper or surface with masking tape to prevent it from moving during the process.
- Decide on the areas you want to mask off and cover them with masking fluid or masking tape. This will create a barrier protecting those areas from being colored or smudged.
- Use a small brush to apply the masking fluid to the desired areas. If using masking tape, make sure it adheres firmly to the surface.
- Allow the masking fluid or tape to dry completely before proceeding.
- Once dry, you can start applying oil pastels to the rest of your artwork without worrying about accidentally coloring over protected areas.
- When finished with the surrounding areas, remove the masking by gently peeling off the tape or rubbing away the dried fluid with an eraser.
Tips for Successful Oil Pastel Drawings
Choose a paper or surface with texture to enhance the vibrancy and richness of your oil pastel artwork. Experiment with different brands of oil pastels to find the ones that work best for you.
Follow a step-by-step guide to creating an oil pastel artwork, ensuring you layer and blend colors effectively to achieve depth and dimension.
Lastly, don’t be afraid to explore various subject matters and techniques to create bold and captivating pieces using oil pastels.
Choosing the right paper and surfaces
Selecting the appropriate paper and surfaces is essential when working with oil pastels. Look for papers with a textured surface, as this helps to create interesting effects and hold more layers of color.
Consider using heavyweight papers or boards to withstand the pressure applied while blending and layering.
Additionally, experiment with different surfaces such as canvas, wood, or gessoed panels to achieve unique textures and finishes in your artwork.
The right choice of paper and surface can greatly enhance the vibrancy and longevity of your oil pastel drawings or paintings.
Recommended oil pastel brands
Artists and art students highly recommend several oil pastel brands. One popular brand is Sennelier, known for its high-quality pigments and smooth texture.
Another top choice is Holbein, which offers a wide range of vibrant colors and excellent color permanence. For those on a budget, Sakura Cray-Pas is a reliable option with good color saturation.
If you prefer a softer pastel, consider trying Faber-Castell’s oil pastels, known for their creamy consistency. Other well-regarded brands include Mungyo Gallery and Erengi Art Aspirer.
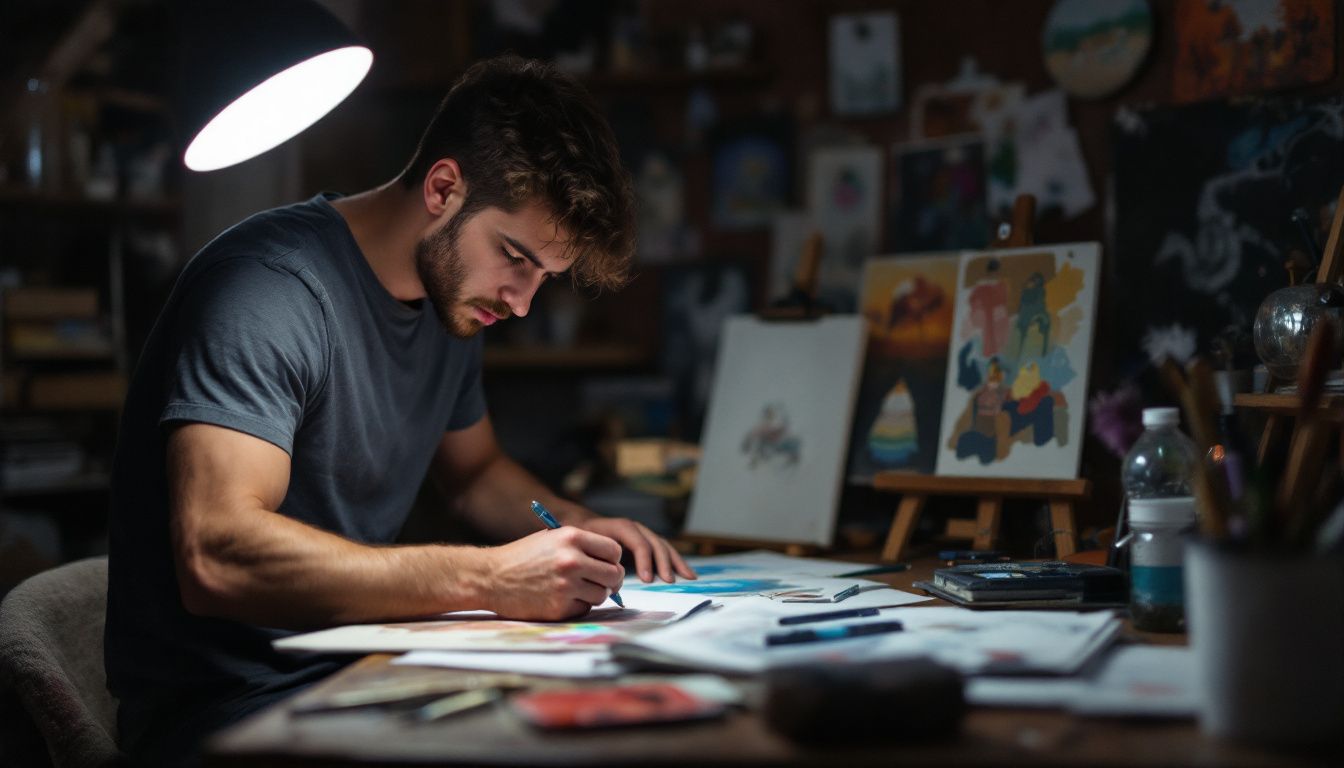
Step-by-step guide for creating an oil pastel artwork
Creating an oil pastel artwork requires a step-by-step approach. Here is a guide to help you get started:
- Choose the right paper or surface for your artwork. Textured papers work well with oil pastels as they allow for better adherence to the medium.
- Prepare your workspace by gathering all the necessary materials, including your oil pastels, blending tools, and any additional items you may need.
- Begin by lightly sketching your subject on the paper using a pencil or a thin layer of oil pastel in a contrasting color.
- Start adding colors to your artwork by applying thin layers of oil pastels using light strokes. Blend the colors together using your fingers or blending tools for a smooth transition.
- Build up layers of oil pastels to create depth and richness in your artwork. Apply lighter colors first and gradually add darker shades on top.
- Experiment with different techniques to add texture and dimension to your artwork. You can use a spatula or palette knife to scrape off areas of color, creating interesting textures.
- Blend and smudge colors together using your fingers or blending tools to achieve a painterly effect.
- Incorporate additional elements into your artwork, such as highlights or shadows, by adding lighter or darker tones, respectively.
- Step back frequently and assess your progress to ensure you achieve the desired effect and composition.
- Take breaks during the process to rest your eyes and reevaluate your artwork with a fresh perspective.
- Once satisfied with your piece, consider using a fixative spray to protect the finished artwork from smudging or fading over time.
Exploration of subject matter
Exploring subject matter is an important aspect of using oil pastels. Artists can create various artworks by experimenting with different subjects and themes.
The possibilities are endless, from landscapes and still life to portraits and abstract designs.
By exploring various subject matters, artists can challenge themselves creatively and push the boundaries of their skills.
Whether capturing nature’s beauty or expressing emotions through color and texture, oil pastels offer a versatile medium for artistic expression.
With experimentation and practice, artists can discover their unique style and find inspiration in the world around them.
Frequently Asked Questions about Using Oil Pastels
– How long does it take for oil pastels to dry?
– Can you use water with oil pastels?
– How to blend oil pastels?
– Recommended materials for oil pastel artists
– Common challenges and solutions in working with oil pastels
How long does it take for oil pastels to dry?
Oil pastels are a versatile art medium that provides vibrant colors and a painterly effect to your artwork. Unlike other mediums like acrylic or oil paint, oil pastels do not dry in the traditional sense.
Instead, they harden over time through oxidation. This means they remain workable for an extended period, allowing you to blend and layer colors easily.
However, remember that thicker layers of oil pastel may take longer to harden than thinner layers fully.
It’s always a good idea to wait until your artwork feels firm before framing or storing it to prevent smudging or smearing.
Can you use water with oil pastels?
You can use water with oil pastels to achieve interesting effects in your artwork. You can use a wet brush or sponge to create a watercolor-like effect by applying the water over the oil pastels.
This allows the colors to blend and flow together, creating beautiful washes of color on your paper. Just be careful not to use too much water, which can cause the paper to warp or tear.
Experimenting with different amounts of water will help you achieve different results and add another dimension to your oil pastel creations.
How to blend oil pastels?
To blend oil pastels, start by layering different colors on your paper or surface. Use your fingers to gently rub the colors together, creating a smooth transition between shades.
You can also use a blending stump or tortillon to achieve more precise blending and create interesting textures.
Another technique is to use a solvent like mineral spirits or turpentine to dissolve the pastels and blend them together.
Experiment with different techniques and tools to achieve the desired effect in your artwork.
By blending oil pastels, you can create beautiful gradients and vibrant color combinations that bring your drawings to life.
Recommended materials for oil pastel artists
Oil pastel artists should invest in high-quality materials to achieve the best results. When choosing paper and surfaces, opt for those with a textured finish to enhance the grip of the oil pastels.
Using a spatula or palette knife can also help create texture and blending effects. Having a solvent such as mineral spirits or turpentine on hand is also recommended for creating wet and runny layers or achieving a watercolor effect.
Experimenting with different brands of oil pastels will allow artists to find their preferred colors and consistencies.
Common challenges and solutions in working with oil pastels
Working with oil pastels can sometimes pose challenges, but with a little know-how, you can overcome them and create stunning artwork.
Here are some common challenges that artists may face while working with oil pastels, along with their solutions:
- Smudging: Oil pastels can smudge easily, causing an unintended blending of colors. To avoid this, try using fixative spray to set your artwork once it’s finished.
- Layering Issues: Sometimes, applying additional layers of oil pastels can cause the underlying layers to lift or mix with the top layer. To prevent this, apply a light layer of fixative spray between each layer to hold them in place.
- Difficulty in Fine Details: Due to their thick consistency, oil pastels are not ideal for intricate details. Instead, focus on creating bold and expressive strokes to capture the essence of your subject.
- Dust and Messiness: Oil pastels tend to produce dust particles when used vigorously. Work on an easel or drawing board to minimize messiness, and keep a clean cloth nearby to wipe away excess dust.
- Difficulty in Blending: Blending oil pastels can be challenging as they have a high wax content. However, you can achieve smooth blending using fingers or tools like a blending stump or cotton swabs.
- Limited Color Choices: Unlike other art mediums, oil pastel palettes may have limited color options from certain brands. Consider using multiple sets or experimenting with color mixing techniques to expand your color range.
- Compatibility Issues with Surfaces: Some surfaces may not work well with oil pastels due to their waxy nature. It’s best to use surfaces specifically designed for oil pastels, such as textured paper or canvas boards.
- Difficulty in Achieving Vibrant Colors: Oil pastel colors may appear dull when applied directly from the stick. Enhance vibrancy by layering different colors and using a solvent, such as mineral spirits or turpentine, to create a painterly effect.
Final Thoughts on How to Use Oil Pastels
Mastering the art of using oil pastels opens up a world of creative possibilities. Artists can achieve stunning results with layering, blending, and adding texture.
By following step-by-step instructions and experimenting with different surfaces and materials, beginners and experienced artists can create bold, vibrant artwork that truly stands out.
So grab your oil pastels and let your imagination run wild!
FAQs
1. What are the basic techniques of using oil pastels?
The basic oil pastel techniques include layering with oil pastels, blending with fingers, and adding texture to your artwork.
2. Can I use oil pastels on different surfaces?
Yes, you can apply layers of oil pastels on various textured papers and other surfaces for bold artwork or experiments in color mixing.
3. How do I blend colors using oil pastels?
Blending and blending techniques with oil pastels often involve applying multiple layers before gently smudging them using fingertips or tools.
4. Are there step-by-step instructions for beginners wanting to learn how to use oil pastels?
Absolutely! A beginner’s guide to using oil pastels includes step-by-step instructions covering everything from drawing and applying oils to creating textures and works on various surfaces.
5. Can water be used along with the application of Oil Pastel?
Indeed! A popular technique involves using water combined with an applied layer of Oil Pastel, adding depth and variation to your art project.

Leave a Reply