Acrylic Impasto Painting

Are you struggling to get that thick, textured look in your acrylic paintings? Impasto painting is a technique that uses heavy layers of paint for a 3D effect.
This guide will show you step-by-step how to create stunning impasto effects with acrylics. Get ready to level up your art!
Key Takeaways
- Impasto painting uses thick paint to create a 3D effect. You need heavy-body acrylics or oils, firm brushes, and palette knives.
- Add texture mediums like gel or modeling paste to acrylic paint for deeper textures. Use different tools for unique effects on canvas.
- To avoid colors blending into each other, don’t mix wet paints. Use quick-drying mediums to speed up drying times.
- Practice applying thick paint with varied strokes and tools, layering for depth and using additives for special textures.
- Choose the right canvas like linen or wood panels that can support heavy paint without bending.
Table of Contents
Essential Tools and Materials for Impasto Painting

To get started with impasto painting, you’ll need thick pigments like acrylics or oils and a solid surface.
Tools like palette knives and firm brushes help create those textured strokes on your canvas. Here is a basic list:
To get started on our impasto painting, you’ll need the following materials:
- Acrylic Paint
- Canvas or Canvas Panel
- Paint palette
- Variety of Flat brushes
- Variety of Palette knives
- Heavy Gloss Gel Medium
Watch the video below for more information.
Types of Paints Suitable for Impasto
Oil paints and heavy-body acrylics are good for impasto. Many artists like oil paint because it dries slowly.
This lets them work with the paint longer to create rich textures.
Oil paintings by famous artists, such as Vincent Van Gogh’s “Starry Night”, show how well oil paint works for impasto.
But, acrylics have their place too. They dry faster than oils, which some artists prefer. Heavy body acrylics are thick and can hold peaks and brush strokes well.
For more texture, use products like Winsor & Newton Liquin Impasto or Liquitex Glass Bead Gel along with your paints.
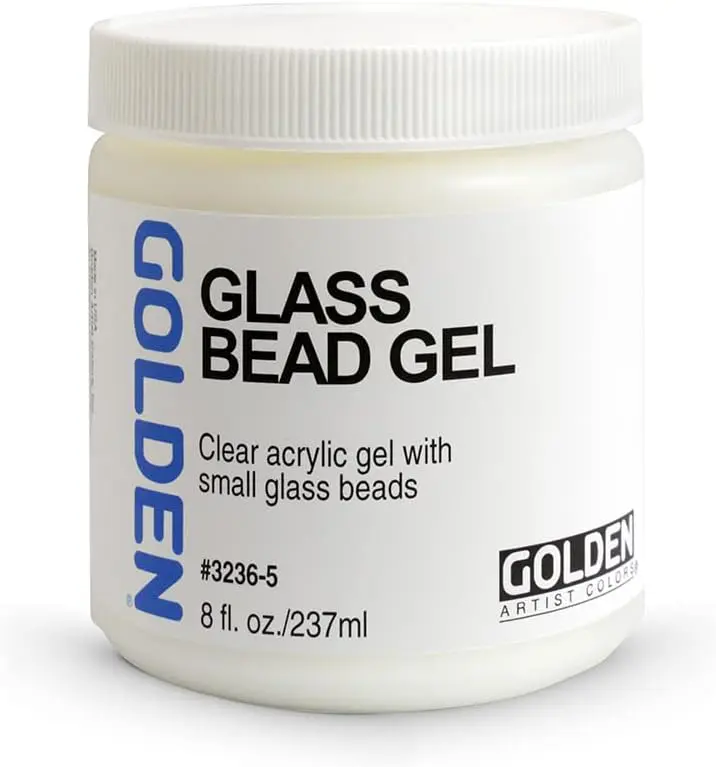
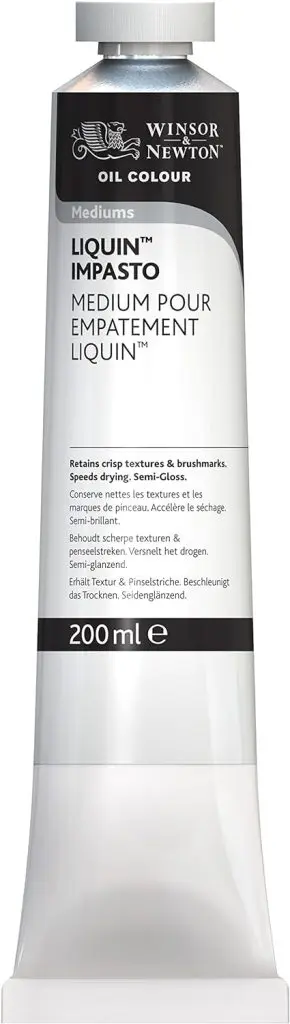
These help make your artwork stand out with unique textures.
Selecting the Right Brushes and Knives
Choosing good brushes and knives is key for impasto painting. You need different types to get unique textures. Palette knives are a must-have.
They help create thick layers of paint on your canvas. Some artists use both flat and pointy palette knives.
For brushes, pick ones that can handle heavy paints like acrylics. Winsor & Newton and Liquitex brands work great here.
They make tools that boost texture in your art. Use wide brushes for big areas and smaller ones for details.
Next, we’ll talk about the right canvas for the impasto technique…
Importance of Choosing the Correct Canvas
After picking the right brushes and knives, it’s key to focus on the canvas. Linen canvases and wooden panels work best for impasto painting.
This is because they can hold thick paint well. They also help make textures stand out.
A colored ground on your support unifies your artwork. It sets the mood before you even start.
Gel mediums and impasto mediums work better with these supports. They conserve paint too. So, using linen or wood helps enhance texture in your paintings.
Techniques to Master Impasto Painting

To get good at Impasto painting, mix your colors with texture mediums. This makes the paint thick and full of life.
Apply this thick paint with brushes and palette knives to create bold, raised strokes on your canvas.
This method adds depth and drama to your artwork, making it pop off the surface in a way that draws the viewer in.
Mixing Paints with Mediums for Texture
Mixing paints with mediums adds texture to your work. This technique makes art look alive. Here are the steps to do it:
- Choose your paint. Acrylics work well for impasto.
- Pick a medium. Gel, impasto, and oleopasto are good choices.
- Mix the medium with acrylic paint. Start with small amounts.
- Stir them together until you see the texture change.
- Test it on a piece of scrap paper or canvas.
- If you want a thicker texture, add more medium.
- Use a palette knife or brush to apply it to your canvas.
- Play with different tools to make unique marks.
- Let each layer dry before adding another for depth.
- Add modeling paste if you need thicker layers.
This process lets artists create textures like Van Gogh’s “The Starry Night” or Monet’s Water Lilies series without heavy paint builds-up that takes a long time to dry.
It’s a way to bring landscapes, still life, or any subject matter to vivid life with depth and dimension that catches the eye from afar and invites closer inspection for its tactile qualities.
Application Techniques for Thick Paint
Applying thick paint can make your artwork stand out. It adds depth and texture, making scenes and objects seem real. Here are ways to do it:
- Start with a base layer. Use a thin coat of acrylic paint on your canvas.
- Add texture mediums. Mix acrylic paint with gel mediums or modeling paste for thicker layers.
- Use palette knives for bold textures. They help spread thick paint evenly across the canvas.
- Try different brush sizes. Large brushes create broad strokes, while small ones add fine details.
- Layer colors carefully to avoid muddying. Let each color dry before adding another on top.
- Experiment with impasto techniques on various parts of your piece, like the petals in “Still life: vase with pink roses” or the bright centers in “Sunflowers.”
- Apply pressure to your brush for dense textures or lighten up for softer effects.
- Work fast with acrylics since they dry quickly. If needed, use quick-drying mediums to keep pace.
- Practice making marks with different tools – not just brushes but also cards, combs, and fingers.
- Keep cleaning your tools between colors to keep shades vibrant and clear.
This method will give life to paintings like Van Gogh’s sunflowers or an impressionist landscape art scene, keeping them vivid and tactile without slowing down drying too much.
Adding unique textures becomes easier with the right mix of paints and mediums. This enhances the overall impact of your work through depth and dimensionality.
Tips on Layering and Mark Making
Layering and mark-making are key in impasto painting. These steps bring out texture and detail. Here’s how to do it:
- Start with a light sketch on your canvas. Use a pencil for this first step.
- Mix your paint well. Add mediums like gel mediums or modeling paste if you need thicker paint.
- Put on the first layer of paint with a knife or brush. Make it thin to set the base.
- Wait for the first layer to dry fully. This keeps colors clear and separate.
- Add more layers slowly, building up thickness where you want it most.
- Use different tools for unique textures. Try brushes, knives, or even your fingers.
- Create marks by pressing objects into wet paint or scratching off top layers once dry.
- Blend colors lightly on the canvas for smooth changes between shades.
- Keep some areas thin and others thick to make contrasts.
Next, we explore how to use modeling paste and gels to boost your impasto effects even more.
Enhancing Your Impasto Effects

To boost your Impasto effects, try adding modeling paste and gels. These can make textures more interesting. Keep exploring to learn more about these tricks!
See the video below for some more tips.
Using Modeling Paste and Gels
Modeling paste makes your paint thicker. You can put it on things like canvas. After it dries, it feels solid. This is good for artists who like to see and touch textures in their work.
Heavy body acrylic paint gels help too. They make the paint feel thick without losing color.
You can mix these gels with your colors. This lets you make deep textures that stand out.
Artists use tools like brushes and knives to spread this mix on their canvas or paper designed for watercolors. This way, they create layers that pop off the surface.
Incorporating Additives for Unique Textures
Artists often look for ways to bring unique textures to their acrylic paintings. One way is by adding gel mediums, impasto mediums, or glass beads.
These additives change how the paint feels and looks. They help create thick layers without making the paint heavy.
Gel mediums make the paint thicker. This helps it stand out on the canvas. Impasto mediums add volume and a three-dimensional effect, perfect for bold strokes.
Glass beads offer a sparkly texture that catches light in interesting ways.
Using modeling paste with paint makes it solid and adds depth to various surfaces. Paint becomes not just about color but also about feeling it with your eyes.
Quick drying mediums let artists work fast, building layer upon layer without long waits.
Art teachers use these techniques to show students how diverse acrylic painting can be.
Online stores sell all these materials, making them easy to find for everyone who paints or draws.
Common Challenges and Solutions in Impasto Painting

In Impasto painting, artists often face the problem of colors blending into each other too much.
This can make the painting look messy. Another issue is how long it takes for thick paint to dry.
To fix these problems, painters can use techniques that keep colors bright and clear. They can also add quick-drying mediums to their paints.
These methods help artists create bold textures without waiting too long for them to dry. Dive deeper into mastering these and more techniques!
Preventing Colors from Muddying
To keep colors bright and clear in acrylic painting techniques, don’t mix wet paint with other wet paint. This keeps the colors from turning muddy.
Making quick, sure strokes also helps keep the colors pure.
Thick paint dries slowly and can mix into a blur if you’re not careful. Using a stay-wet palette helps your paints stay right for use longer without drying out too fast.
Trying different brands of acrylics might show which one works best for you to avoid muddled colors.
Adding gel mediums to your paint can help add texture without losing color quality.
Finishing your artwork in just one go also stops colors from blending badly. Next, we will discuss speeding up drying times to help further prevent these issues.
Speeding Up Drying Times
After solving how to keep colors bright and clear, the next step is making your Impasto artwork dry faster.
Thick layers of paint take a long time to dry. This can be a problem for artists who work fast or need their pieces ready quickly.
One way to solve this is by using quick-drying mediums like Holbein Duo Aqua Oil Quick Drying Medium and Gamblin’s Galkyd Gel.
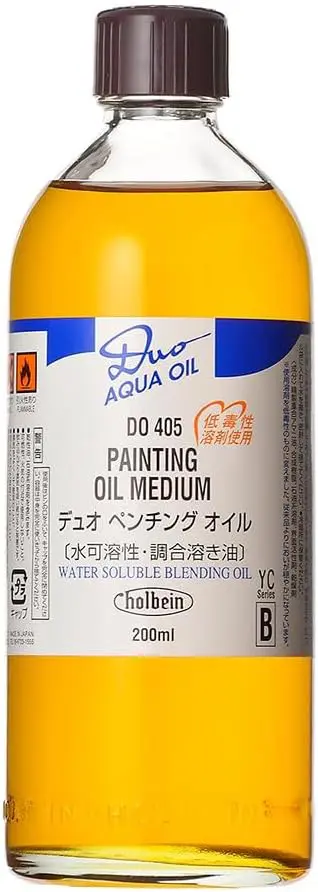
These products help thick paints dry faster. This means artists don’t have to wait too long before adding more layers or finishing their work.
The place where you paint also matters. Warmth and low humidity make paint dry quicker than cold or damp areas.
Artists often get upset with slow-dry acrylics. Knowing what affects drying can improve your painting experience greatly.
Concluding Thoughts on Acrylic Impasto Painting
Getting good at impasto painting with acrylics takes time. But, using the right tools and techniques helps a lot.
From picking heavy body paints to using knives for texture, every step matters. Adding mediums like gel makes textures pop out more.
Practice these tips well, and your paintings will start to stand out with rich textures just like Vincent Van Gogh’s did.
Keep trying different methods until you find what works best for you.
FAQs About Acrylic Impasto Painting
1. What is acrylic impasto painting?
Acrylic impasto painting is a unique technique where the paint, such as acrylic, is applied in thick layers to create texture and depth. It’s like drawing on your canvas but with paint!
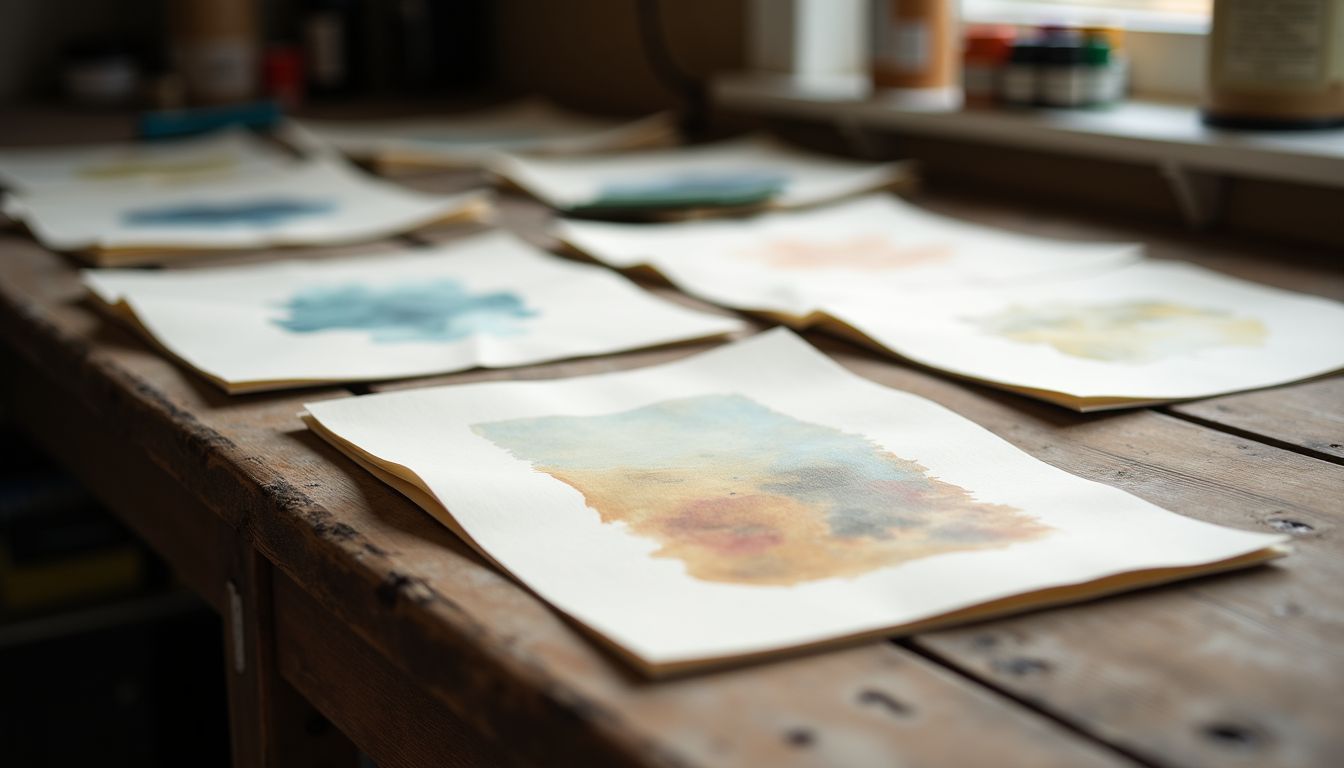
2. Can I use watercolor papers for acrylic impasto painting?
Yes! You can use watercolor paper for this style of painting. The thickness of the paper holds up well against the weight of the acrylic.
3. Are there famous artists known for using impasto techniques?
Indeed! Artists like Rembrandt and Frans Hals were known for their mastery of using glazing and other techniques that are part of the impasto style.
4. Is it possible to incorporate sumi into my Impasto paintings?
Absolutely! Sumi, black ink used traditionally in East Asian calligraphy, can add an interesting contrast when painted onto your thick layers of color.
References
- https://atrusovaartist.com/blog/mastering-impasto.html
- https://www.learntopaintpodcast.com/blog/the-possibilities-of-impasto-an-interview-with-lisa-elley
- https://www.malcolmdeweyfineart.com/blog/how-impasto-will-transform-your-painting
- https://www.artistsandillustrators.co.uk/how-to/oil-painting/how-to-perfect-your-impasto-painting/
- https://michellegibbs.co.uk/mastering-the-art-of-layering-in-acrylics/
- https://nancyreyner.com/2017/12/25/what-is-layering-for-painting/
- https://www.artistsnetwork.com/art-mediums/acrylic/how-to-use-acrylic-mediums/
- https://www.youtube.com/playlist?list=PLItKszBdNP4L0ib6-8gVcOe_VWc-TeHdN
- https://urartstudio.com/the-beauty-of-impasto-creating-texture-with-acrylics/
- https://www.thebuzzedartist.com/avoid-muddy-colors-with-acrylics/
- https://willkempartschool.com/7-ways-to-stop-acrylic-paint-drying-too-fast/

Leave a Reply